Well, this is where label adhesion comes in. It isn’t just about sticking something onto a surface, but it ensures the label bonds properly and stays in place through handling, shipping, and storage. However, it’s important to test label adhesion before committing to full production, to avoid costly mistakes.
If a label fails to adhere properly, it can lead to:
- Customer dissatisfaction
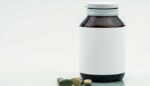
- Regulatory issues (for industries like food, beverage, and pharmaceuticals)
- Wasted materials and production costs
- A negative brand image
By conducting adhesion tests in advance, you can prevent these issues and choose the right label material, adhesive type, and surface preparation method.
In this guide, we’ll break down the step-by-step process of testing label adhesion on different surfaces, so you can be confident your labels will stay put.
Step-by-Step Guide to Testing Label Adhesion
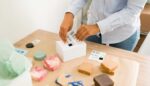
Step 1: Choose Your Surface
Different materials have different levels of surface energy, which affects how well a label sticks. Common surfaces include glass, plastic, metal, cardboard and paper, painted or coated surfaces.
Step 2: Clean the Surface
A dirty surface can ruin even the best adhesive. Before testing, ensure your surface is clean. You could wipe with isopropyl alcohol (for non-porous surfaces like glass, metal, and plastic), use a lint-free cloth to remove dust and debris, and avoid oily or greasy residues, which can weaken adhesion.
Step 3: Apply the Label Correctly
Adhesion starts with proper application. Follow these best practices:
- Apply the label at room temperature (typically 65°F – 75°F or 18°C – 24°C)
- Use firm, even pressure to ensure full contact
- Avoid touching the adhesive side with your fingers, as oils can affect adhesion
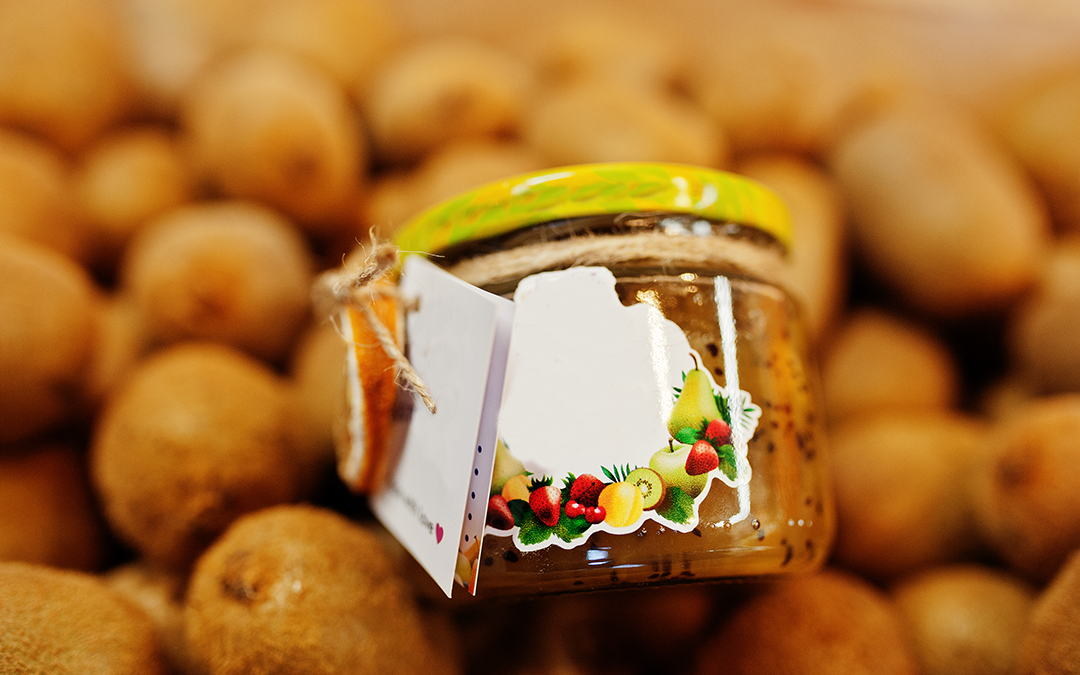
For curved surfaces (such as bottles), use a squeegee or roller to eliminate air bubbles.
Step 4: Perform Adhesion Tests
Now comes the crucial part, testing how well your label sticks. You can do this effectively by using any of the following methods:
1. The Peel Test
After applying the label, wait at least 24 hours (adhesive needs time to bond). Then:
- Gently try to peel up a corner of the label.
- If it comes off easily, adhesion is weak.
- If it resists and stretches before detaching, adhesion is strong.
2. The Scratch Test
Use your fingernail or a blunt object to scratch at the label’s edges. If the label lifts or starts to separate, the adhesive may not be strong enough for your surface.
3. The Water & Moisture Test (For products exposed to condensation or humidity)
- Spray water on the label and let it sit for a few hours.
- Check if the label remains intact or if edges start to lift.
- For extreme conditions, submerge the label in water for a durability test.
4. The Temperature Test
Labels exposed to heat or cold need to perform well under extreme conditions.
- Place the labeled item in a freezer for 24 hours and check for peeling.
- Subject it to heat (e.g., a warm room or direct sunlight) and observe any curling or bubbling.
5. The Rub Test
For labels on frequently handled products, simulate wear and tear by rubbing the label with a cloth or hand. If the edges lift or the print wears off, you may need a stronger adhesive or a protective laminate.
Interpreting the Results
After running these tests, you will have a clear idea of how well your labels stick. But if you run into issues, here’s how you can adjust it:
- If the labels are peeling off easily, try a stronger adhesive, especially if the surface has low surface energy (like certain plastics).
- If bubbles are appearing? Ensure you are applying firm, even pressure. Perhaps you might want to a label applicator for precision.
- If the edges are lifting in water or heat? Consider a waterproof or temperature-resistant adhesive.
Label adhesion is too important to leave to chance. By testing in advance, you will avoid costly reprints, product recalls, and customer complaints.
For expert guidance of custom labels designed to ensure durability, get in touch with our teamhere, and we’ll help you find the right material and adhesive for your specific needs.